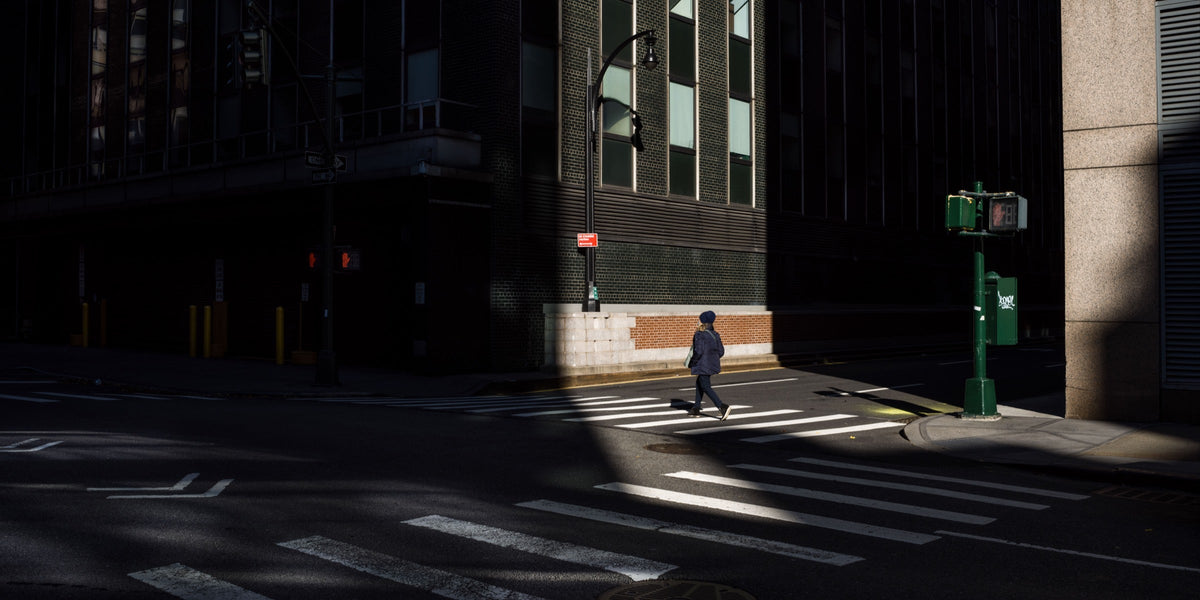
Between sunset and night, a city can briefly reveal two distinct worlds of light at the same time. A glass façade still reflects the cool sky, while warm interior light is already visible behind it. Pale stone takes on the remaining light differently from metal. Wet paving can bring together blue, LED light, and window light within just a few metres.
This is precisely what makes the blue hour so special for photography. It is not the most intense blue possible that makes a shot interesting, but the differences between remaining natural light and artificial lighting. These differences change quickly: The sky gets darker, while façade and street lighting stay largely constant. Exposure and colour therefore need to be reassessed as dusk progresses.
When Is the Blue Hour Interesting for Photography?
The blue hour occurs in the morning before sunrise and in the evening after sunset. There is no precisely defined astronomical duration. The phase that matters most for photography is when the sky still has colour and detail, while artificial lighting is already clearly visible.
In the evening, three transitions can be observed.
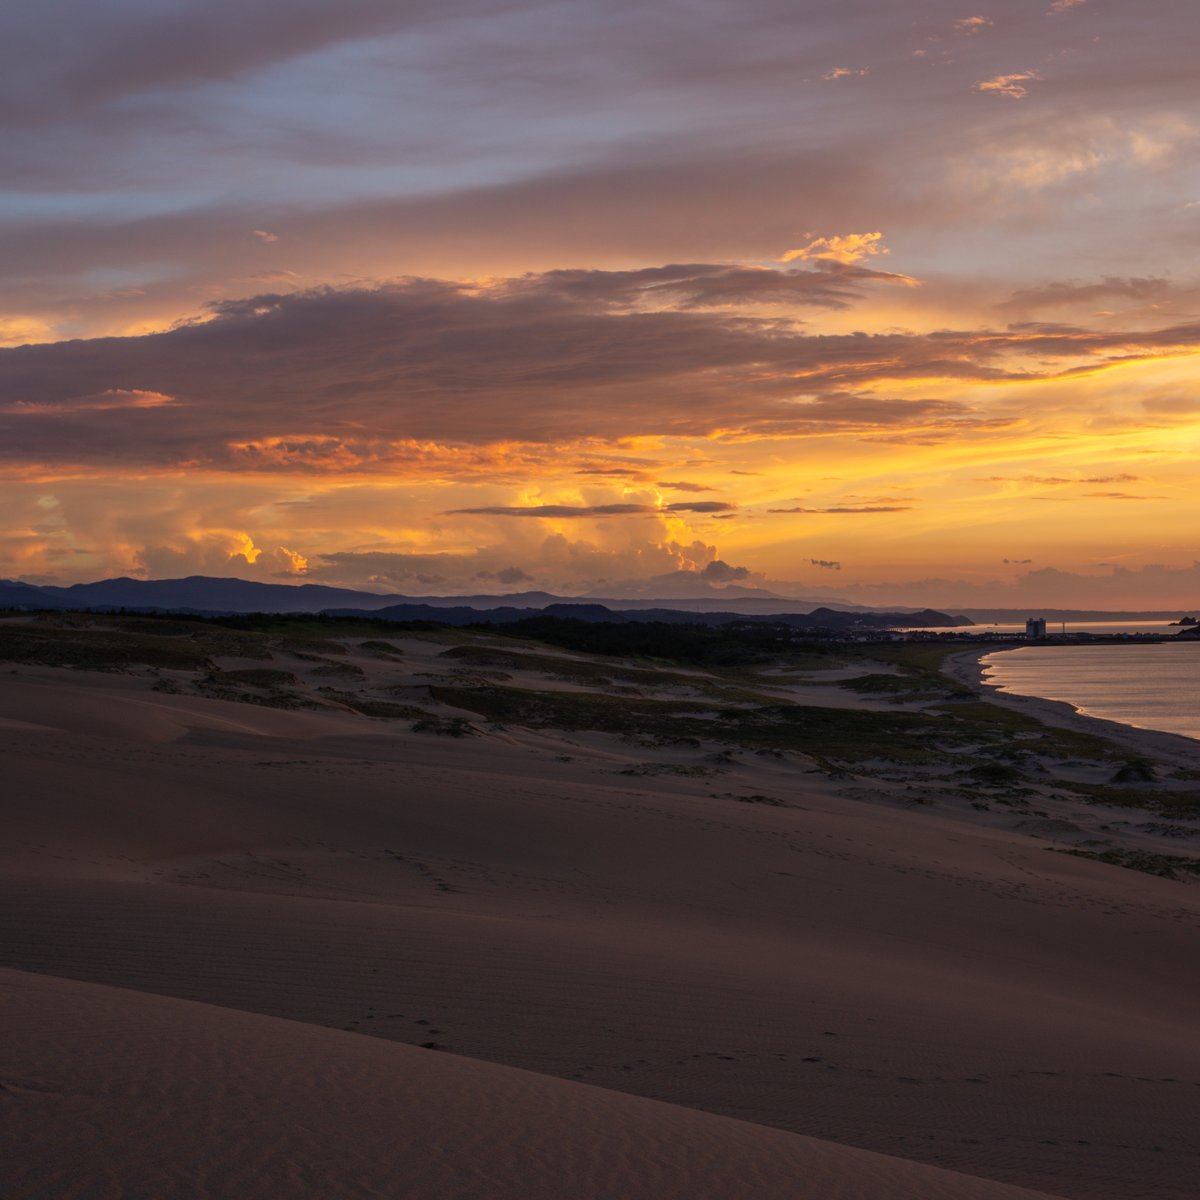
Shortly after sunset, the sky still provides most of the brightness. Windows and street lamps are visible but remain secondary. Façades, stone, and vegetation still show a lot of ambient light.
Some time later, the brightness of the sky and the city lighting converges. For architectural and urban subjects, this phase is often particularly rewarding: A window can glow without blowing out completely, while a darker façade or the street still retains enough detail.
As dusk turns to night, the sky increasingly loses its own brightness. Artificial light sources now play a greater part in determining exposure. Large illuminated areas become more critical, shadows deeper, and exposures of several seconds more common.
How quickly this happens depends on the season, weather, and location. An app with twilight and sun position data is therefore more useful for planning than a fixed time. Other manufacturers also point out that optimal exposure can change significantly within a short time during the blue hour.
In practice, it is helpful to be on location before sunset. Perspective, distracting elements, and possible reflections can then still be assessed in sufficient light. During twilight itself, you have more attention to spare for brightness and colour.
Photographing Light, Colour, and Materials during the Blue Hour
During the blue hour, light changes more than the brightness of a subject. It also changes how well materials remain distinguishable from one another.
Natural and Artificial Light
Remaining natural light is broad and diffuse. It can cool large areas evenly, especially sky, stone, and glass. Artificial lighting, on the other hand, is usually more local: Windows, façade spotlights, street lamps, or shop windows create distinct zones of brightness and colour.
A single shot can therefore contain several different characters of light at once.
An example of this is a modern glass façade: In its upper section, it reflects the blue sky. Behind it, lit rooms are already visible. In the lower part, it may reflect neutral white street lighting. If all these areas are adjusted to the same colour temperature, some of the separation between them is lost.
In mixed light, what matters is not maximum colour saturation but a clean differentiation between the light sources.
Glass, Stone, Metal, and Wet Surfaces
Materials react very differently to the light at dusk.
Glass can show both reflection and transparency at the same time. In a well-exposed shot, the sky remains visible in the reflection, without the interior behind it disappearing completely.
Pale stone and concrete often contain only small tonal differences. A slight shadow edge or a change in the surface can decide whether an area appears three-dimensional or flat.
Metal quickly picks up colour casts from its surroundings. A cool reflection of the sky can sit right next to warmer artificial light.
Wet surfaces bring different light sources together in a particularly clear way. Paving, asphalt, or stone can reflect the blue of the sky and warm or neutral light from the city at the same time.
It is precisely these subjects that benefit from a shot that does not compress fine differences in tone and colour too early.
Colour Separation in Mixed Lighting
A fixed white balance can be helpful when you want several shots in a series to remain consistent in colour. Auto white balance can shift within a few minutes as less sky and more artificial light enters the frame.
There is no universal Kelvin value. Nikon suggests using around 3800–4200 K as a possible starting point for a distinctly cool blue hour look. Depending on the light source and the effect you want to achieve, other values may be more appropriate.
In German cities, the type of lighting used is particularly important. The German Environment Agency distinguishes warm white light sources at around 2700 K from neutral white variants up to around 5000 K.
Older sodium vapour lamps create a pronounced yellow-orange counterpoint to the blue sky. Modern LED lighting can appear significantly more neutral. A façade illuminated in neutral white can sometimes be closer in colour to the remaining daylight; warmth is then introduced only by interiors, restaurants, or vehicle lighting.
For your shot, this means: A warm window can look different from a neutrally lit façade. Cool remaining light in glass or shadow does not have to be neutralised automatically.
This kind of colour separation is also in line with the approach of the Hasselblad Natural Colour Solution (HNCS). HNCS is designed to reproduce colours consistently and naturally from capture through to editing, preserving subtle gradations without requiring separate colour profiles for different types of subjects.

@Albrecht Voss
Exposure and Camera Settings During the Blue Hour
During the blue hour, the biggest exposure problems rarely come from darkness alone. The combination of bright light sources, mid-bright façades, and foregrounds that are already dark is more difficult.
Bright Areas and Dark Spaces
A small street lamp can be allowed to burn very bright at its centre. A larger illuminated area, on the other hand, should ideally still show some texture.
This applies especially to:
-
bright façades,
-
illuminated natural stone,
-
shop windows,
-
large window fronts,
-
reflections on glass and metal.
On a white wall, relevant information often sits just below the brightest tonal values. If they are clipped, you lose not only brightness, but also the texture of the material.
The histogram is therefore more helpful than the display preview alone. What matters is not an "ideal" curve, but which areas of the image are actually clipping.
Dark areas are allowed to stay dark. With paving, it is often enough for joints, reflections, or surfaces to remain legible. Brightening strongly into the mid-greys can needlessly alter the night-time distribution of brightness.
ISO, Aperture, and Exposure Time
With static architecture, you can use a low ISO as long as the shutter speed suits the scene. A mid-range aperture such as f/8 can be a useful starting point for many lenses, but it is not a hard-and-fast rule.
As soon as people, traffic, water, or vegetation become part of the shot, shutter speed becomes more important.
Even at around one second, movement can blur visibly. With longer exposure times, people become increasingly transparent, and vehicle lights create longer trails. Water surfaces become calmer; clouds can show a direction of movement. The specific effect depends on the distance, speed, and direction of movement.
A higher ISO can therefore make more sense than a longer exposure if you want to keep movement defined in the image.
Single Shot or Exposure Bracketing
A single RAW file is usually the cleanest solution when the key bright and dark areas of the image fall within the camera's dynamic range.
Exposure bracketing makes more sense with:
-
dark interiors with very bright windows,
-
brightly lit façades against dark surroundings,
-
large-area reflections,
-
late dusk with very large differences in brightness.
Aperture and focus should remain fixed, and exposure should be adjusted via the shutter speed. Movement in the scene can make merging more difficult later, as water, leaves, people, or vehicles change position between frames.
Exposure bracketing is therefore not standard practice for the blue hour. It makes sense when a single file can no longer cleanly hold the relevant contrast.
Photographing the Blue Hour in Urban and Architectural Settings
Urban and architectural subjects are particularly well suited because natural and artificial lighting become visible within the same space.
Sky, Architecture, and Foreground
The sky does not have to take up most of the frame. However, it should take up enough of the frame to make the cool character of dusk recognisable.
As a counterpoint, a clearly illuminated area works well: a façade, a band of windows, a bridge, or an interior. Larger contiguous areas of light are often easier to weight than many small point lights.
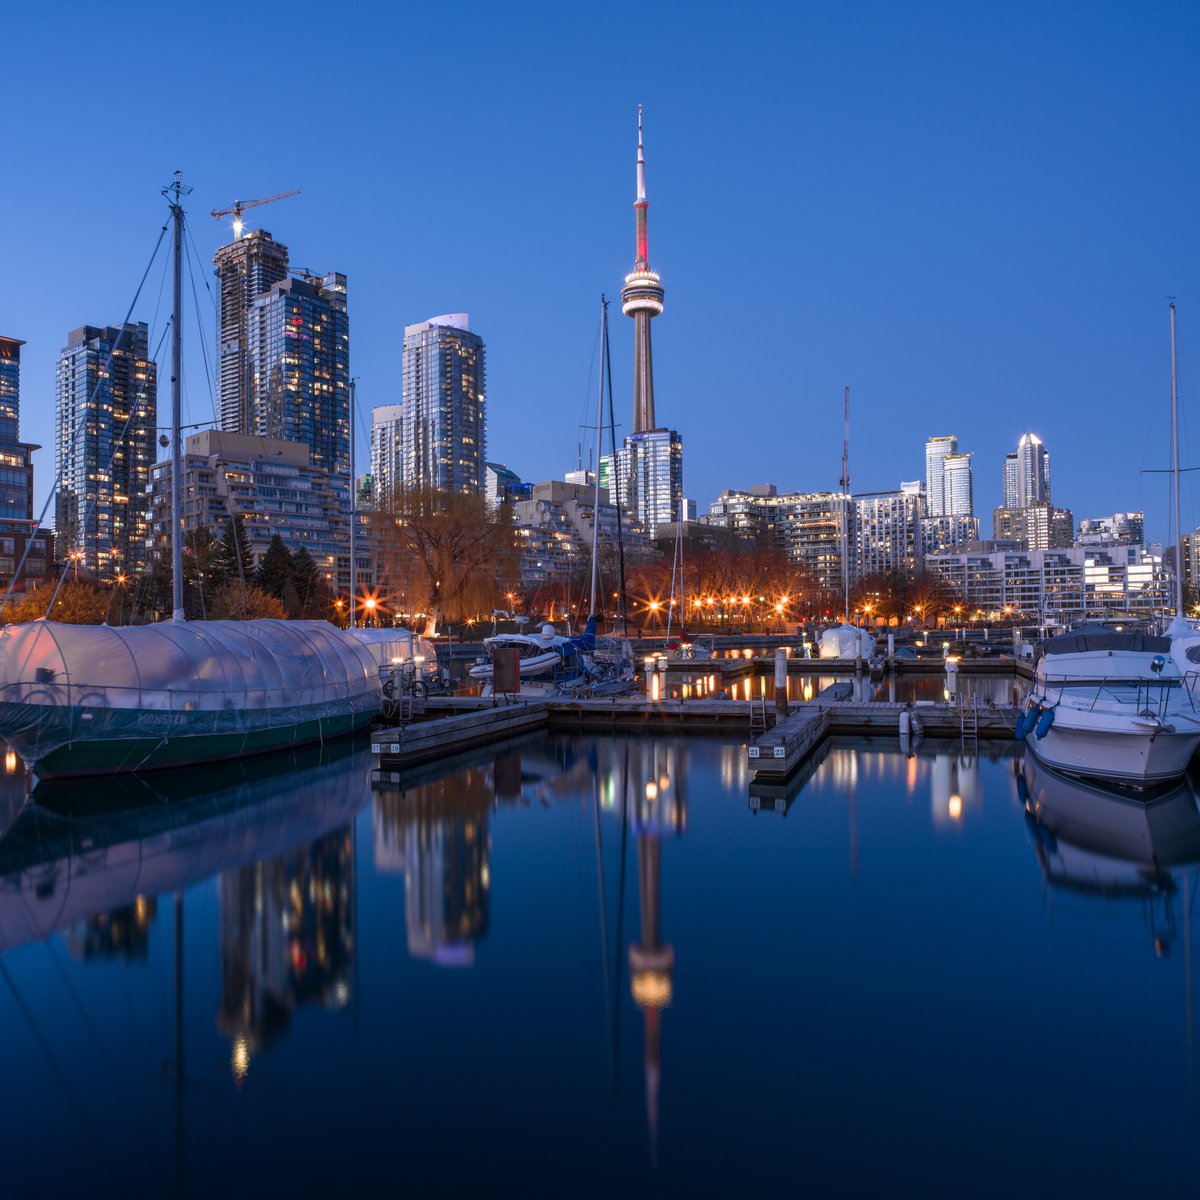
A foreground can link both planes. Wet paving, water, glass, or metal catch the light and carry sky colour or artificial lighting into the lower part of the frame.
After rain, even a small puddle can be enough to mirror a window or the edge of a building. Rivers or harbour basins create larger reflective surfaces whose texture can be controlled with the exposure time.
Perspective, Reflection, and Position
The position determines how strongly architecture, sky, and foreground are connected.
An elevated viewpoint often shows more sky and, at the same time, more illuminated areas. A shoreline creates distance from buildings and offers reflections. In narrow streets, a wider angle of view may be needed to capture façades and sky together.
With glass surfaces in particular, the camera position is especially important. Even a slight change can determine whether the façade mainly reflects the sky, a row of buildings opposite, or the illuminated interior.
On wet surfaces, a lower viewpoint also changes the visible area of reflection. The same pavement can look almost black at eye level and catch much more sky and window light just a few centimetres lower.
Such decisions are easier to make before twilight proper begins. Once perspective and framing are set, the few minutes of interesting light can be used more purposefully.

@Chen Ya
Which Camera Is Suitable for the Blue Hour?
No specific sensor size is strictly necessary for shooting during the blue hour. A camera should offer RAW capture, controllable exposure, and reliable focusing.
Medium format becomes particularly relevant when a single frame combines large differences in brightness, fine colour gradations, and richly textured surfaces, and the file is then to be heavily edited or output at a large size.
X2D II 100C for Tonal and Colour Latitude
A typical scene can feature a bright sky, an illuminated glass façade, warm interiors, and dark paving, all at the same time. Here, the source file determines how far these areas can later be edited separately.
X2D II 100C uses a 100 MP medium-format sensor, 16-bit colour depth, and a dynamic range of up to 15.3 stops. HNCS HDR extends Hasselblad's colour workflow to high brightness differences.
The benefit is tangible: A bright façade can be toned down while its surface characteristics are preserved. Dark stone can be moderately brightened without needing to significantly alter the sky at the same time. Fine transitions between cool residual light and warmer light sources remain easier to differentiate in the file.
According to Hasselblad, the 5-axis image stabilisation supports up to 10 stops. It extends the range for handheld shooting, as long as the required shutter speed matches the movement in the scene.
[cta: https://store-eu.hasselblad.com/products/x2d-ii-100c]
XCD 2,5/25V for Cityscapes and Architecture in Low Light
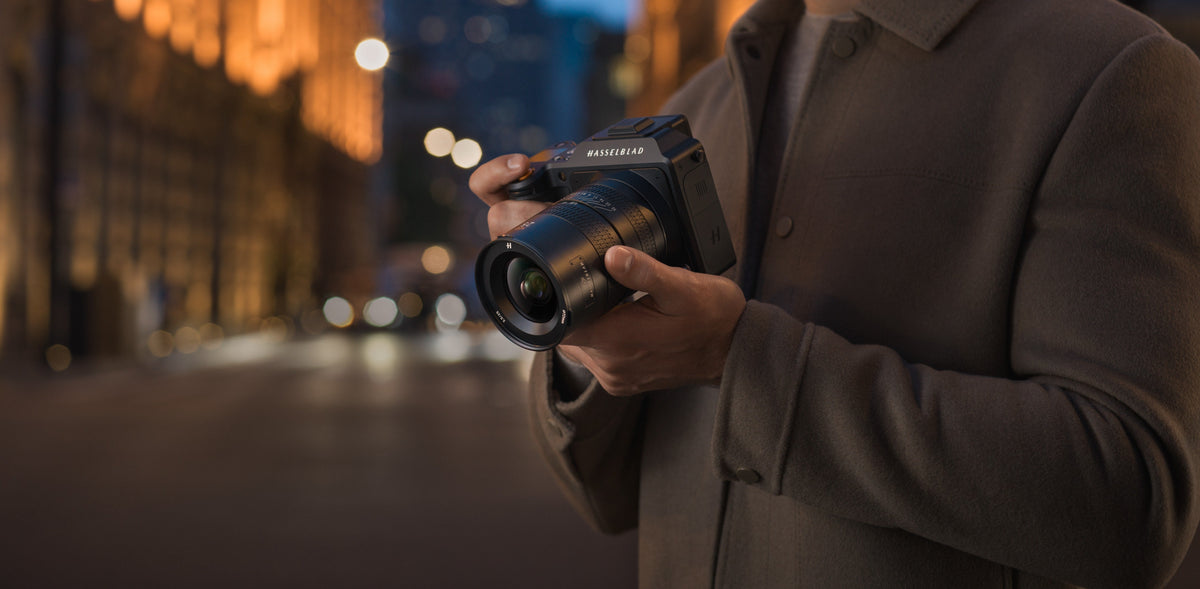
XCD 2,5/25V offers an angle of view equivalent to about 20 mm in full-frame terms and a maximum aperture of f/2.5. Hasselblad developed this lens specifically for night photography and night-time cityscapes.
The wide angle of view suits situations in which sky, architecture, and foreground should all be part of the composition at the same time. The f/2.5 aperture also gives you extra latitude when the shutter speed needs to stay short enough to render movement more clearly.
The combination is therefore not a prerequisite for the blue hour. It extends your latitude precisely where differences in tone, colour, and light within a shot lie particularly close together.
[cta: https://store-eu.hasselblad.com/products/xcd-2-5-25v]
Preserving Colour in Post-Processing
In RAW editing, it is worth setting the colour balance first and then assessing brightness and contrast.
A warmly lit window does not need the same neutrality as an LED façade. Blue residual light in a glass reflection can stay cool. Wet stone can carry both colours of light at the same time.
Restraint is also helpful when it comes to tonal values. A dark area does not need to be brightened all the way to mid-grey if its texture is already discernible. Larger bright façades, on the other hand, should retain enough detail to show differences in material.
Global saturation can quickly reduce the separation between light sources, because the sky and artificial light are intensified at the same time. Selective adjustments are more controlled. A blue sky, for example, can be made to look deeper with a slight adjustment to its luminance, without noticeably increasing its saturation.
Strong local contrast also quickly becomes visible in glass, stone, and smooth sky gradients. Too much clarity can accentuate edges, harden reflections, and reduce fine transitions.
The edit is convincing when the different light sources and materials remain clearly distinguishable from one another.
Frequently Asked Questions about the Blue Hour
Is the blue hour better in the morning or the evening?
Both work. In the evening, city and building lighting is usually already on, whereas streets and squares are often quieter in the morning. For subjects where artificial light plays an important role, evening usually offers more options.
Can I photograph the blue hour under an overcast sky?
Yes. Clouds weaken an even blue-sky gradient, but can add structure and reflect city light. With dense cloud, the colours are often more subdued, so brightness, reflection, and material come to the fore.
Do I need an ND filter for the blue hour?
Usually not. Exposure times naturally get longer as the light fades. A neutral density (ND) filter is mainly useful in the earlier part of twilight, when you deliberately want longer exposures for water, clouds, or traffic.
Which focal length is suitable for the blue hour in the city?
That depends mainly on the location and subject. A wide-angle lens connects architecture, sky, and foreground, while longer focal lengths isolate individual façades or areas of light more strongly. In narrow streets, the distance you have to work with often dictates the focal length you need.