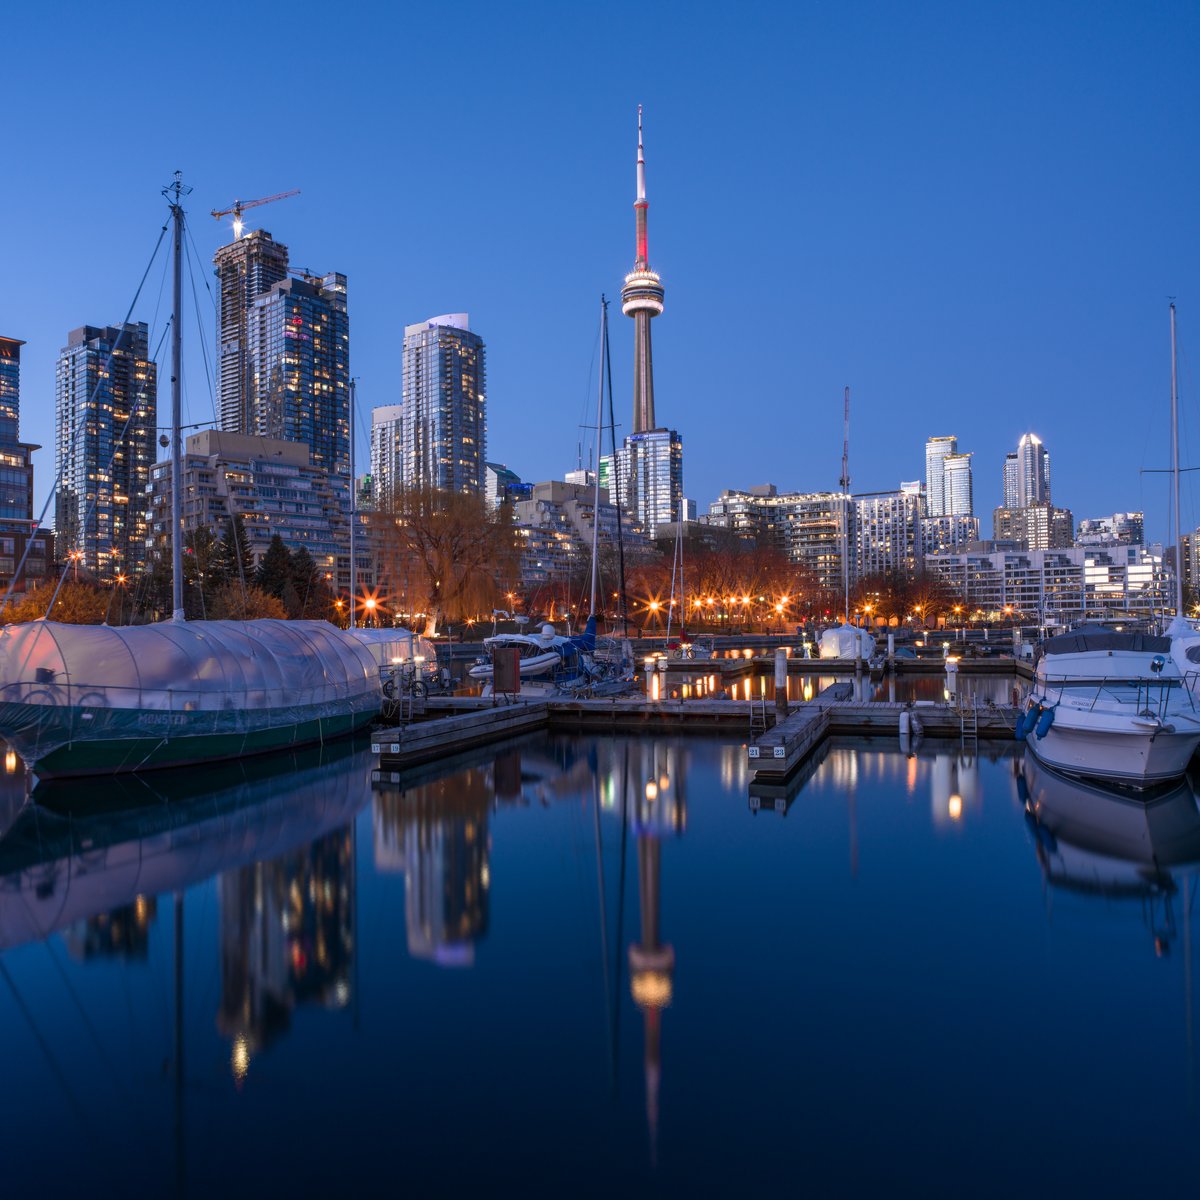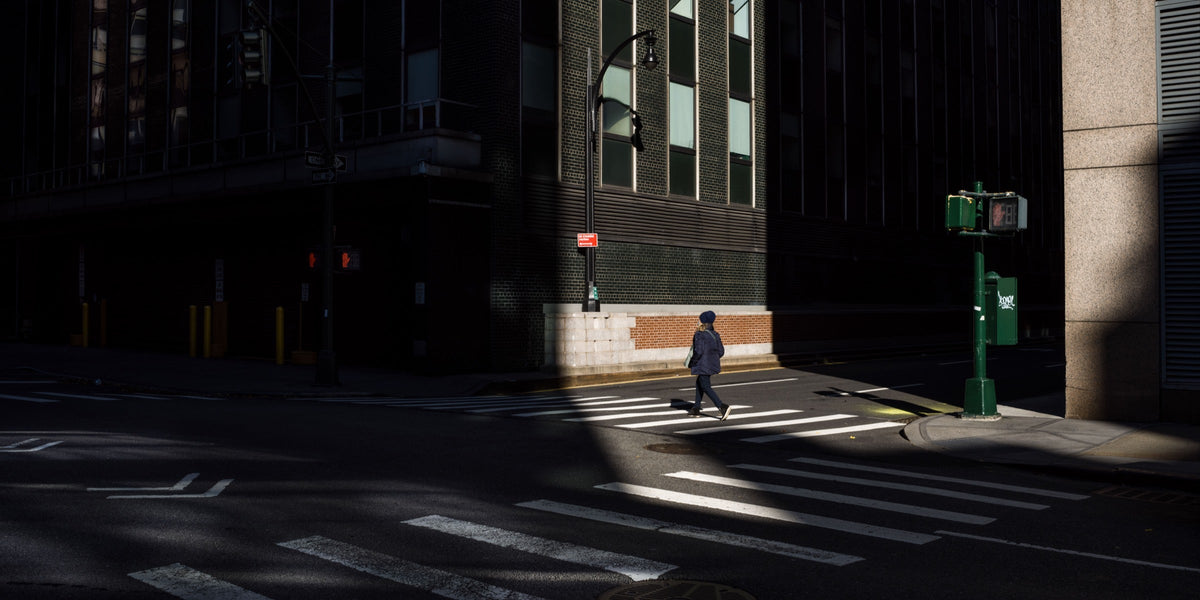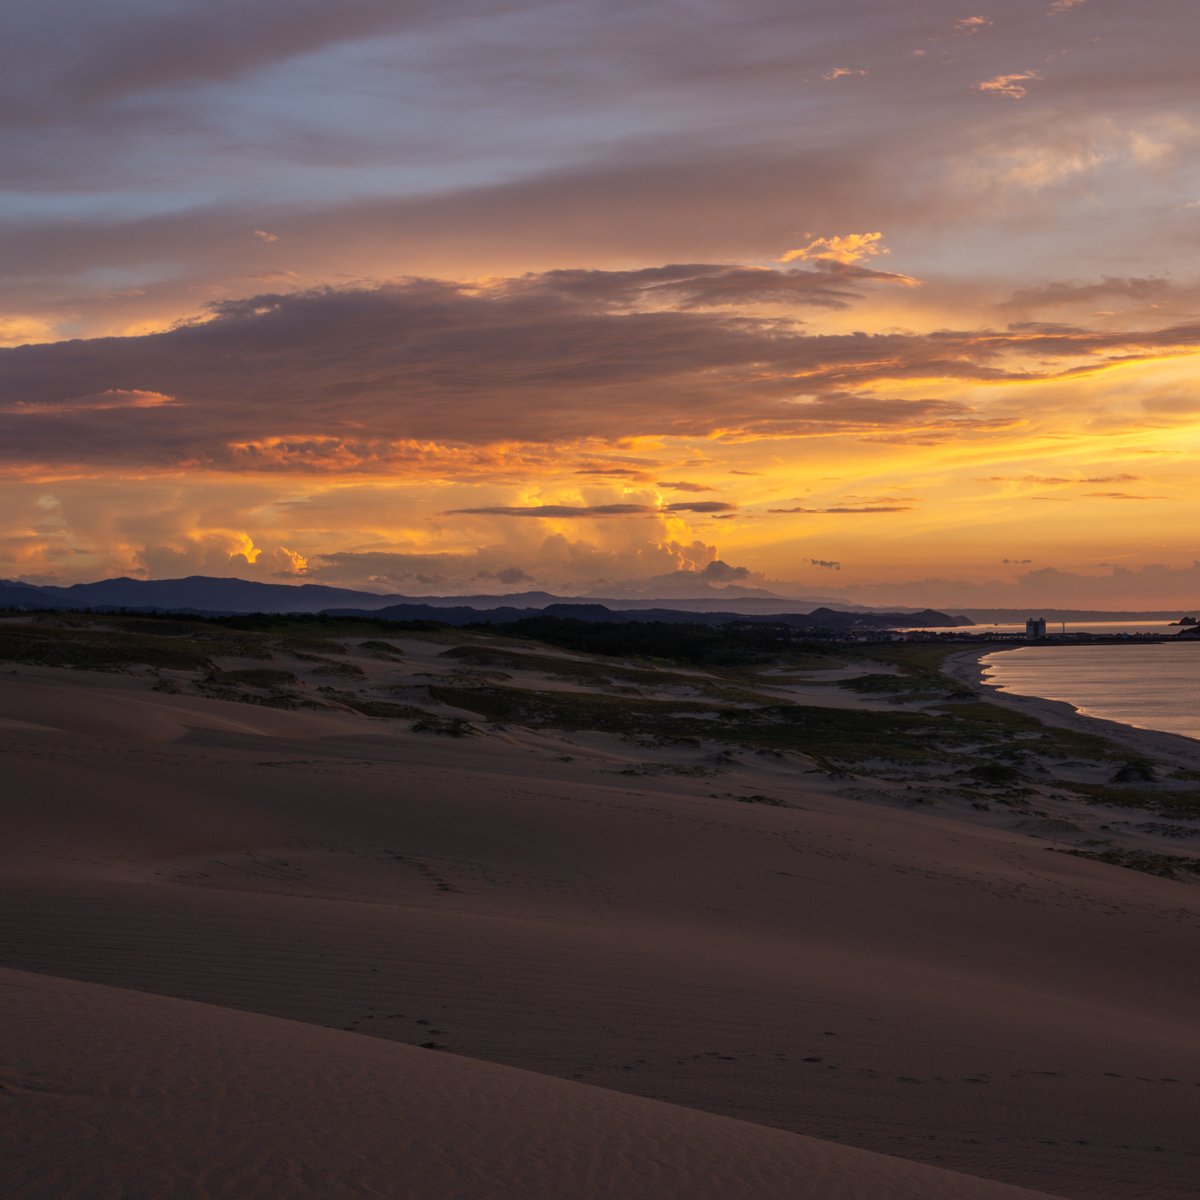
Before sunrise, the sky, terrain, and clouds are often in different light conditions. A valley may still be shaped by cool skylight, while high clouds already show pink or orange. Later, direct light reaches individual ridges, even though the foreground and valleys are still in shadow.
For landscape photography, these differences are often more important than achieving maximum colour intensity. Cool shadows, warm direct light, haze, and reflections can all appear in the image at the same time. A good shot keeps this separation rather than reducing it to a uniform sunrise look.
How Do You Photograph a Sunrise in the Landscape?
The camera should be set up before the decisive changes in light begin. In this way, framing and focus can be prepared in advance, while exposure and composition then adapt to the actual morning light.
|
Light phase |
Change in the scene |
Photographic priority |
|
Blue hour |
Cool, indirect light and low contrast |
Layers, reflections, and movement |
|
Just before sunrise |
First warm colours in the sky and clouds |
Colour transitions and bright areas of cloud |
|
Sun on the horizon |
Much wider brightness range |
Controlling highlights |
|
First direct light |
Directed shadows and more pronounced surface texture |
Reassessing visual weight |
|
Early morning light |
Larger areas are illuminated directly |
Adjusting the framing to the new distribution of light |
A still mountain landscape allows different exposure times than grass in the wind or moving water. Likewise, the required depth of field changes depending on whether the composition starts just a few centimetres in front of the camera or is made up solely of distant layers of landscape.
The sunrise itself is therefore only one phase. Images can be made much earlier, when cold ambient light and the first warm colours are visible at the same time.
Planning for Sunrise in Landscape Photography
For planning, the light direction, atmosphere, and location are particularly important. Careful preparation leaves enough time to react to clouds, mist, and changes in light.
Light Direction and Clouds
What matters for planning is not only where the sun rises, but also which parts of the landscape it lights first. A mountainside to the west can become more interesting than the horizon itself when the sun rises in the east, thanks to early side light.
Planning tools display the sun's azimuth, elevation, and the different twilight phases for a given location and date. For the morning blue hour, PhotoPills uses a solar elevation of roughly −6° to −4° as a practical definition. The exact time depends on your location and the time of year.
With clouds, their altitude matters as well as the overall cover. Cirrus is one of the high cloud types and can take on the typical colours during sunrise or sunset. A low, unbroken layer of cloud on the horizon, on the other hand, can block the direct light at first.
A clear sky often produces calm colour gradients. High or broken clouds create additional surfaces on which the low sunlight becomes visible.
Mist, Wind, and Location
Mist mainly affects spatial separation. Thin layers can separate rows of trees or hills from one another, because contrast and colour saturation decrease with increasing distance. If the mist thickens, the same layering can disappear.
The atmosphere also influences the colour of the morning light. When the sun is low, its light travels a longer path through the atmosphere. Air molecules scatter short blue wavelengths particularly efficiently; aerosols and dust further affect this scattering and can alter the red components of sunrise and sunset.
Wind should be taken into account as early as the planning stage. It changes reflections on water, moves vegetation, and shifts mist. This directly affects which shutter speeds will make sense later.
Local access rules are also part of the preparation. At Geroldsee, for example, the official Alpenwelt Karwendel tourist board points out that the sensitive meadows around the lake must not be entered and that the existing paths must be used.
Besides the main composition, it is worth having a second direction in mind. If the expected sky stays colourless, side light, mist, or lit parts of the landscape elsewhere can become more interesting.

@Qianli Zhang
Photographing the Blue Hour and Morning Light
Blue Hour Before Sunrise
During the blue hour, the sun is still below the horizon. In the definition used by PhotoPills, its elevation is roughly between −6° and −4°. The light is mainly indirect, cool, and diffuse.
This makes small differences between layers of the landscape visible. Distant mountains appear brighter and often more bluish due to atmospheric haze. Water and snow take on much of the sky's colour. Forests, on the other hand, can remain very dark and relatively neutral.
In layered mountain landscapes, image depth can already emerge from these subtle tonal and colour differences, even before there is any direct sunlight.
The low light level often results in longer exposure times. Their effect, however, depends on the subject. A longer exposure can smooth small waves and render reflections more calmly. Meanwhile, moving mist can lose structure, while grass or thin branches in the foreground become blurred.
The exposure time should therefore be based not only on the available brightness, but also on how you want water, clouds, mist, and vegetation to appear.
Colour Just Before Sunrise
Shortly before sunrise, warm and cool areas can sit side by side with particular clarity. High clouds already take on pink or orange, while the terrain below is still shaped by cool skylight. Towards the horizon, the warm component increases, while the upper sky stays blue.
The colours of a sunrise result partly from the longer path sunlight takes through the atmosphere. Shorter wavelengths are scattered more strongly, while reds and oranges can stand out more clearly along the direct line of sight. Aerosols further alter the scattering.
Photographically, small differences often matter more than strong saturation. A bluish-grey mountain may differ only slightly from a band of cool mist. Rose pink can blend softly into a slightly warmer orange.
The brightest coloured clouds deserve special attention when setting the exposure. If they are completely overexposed, you lose not only tonal detail, but also subtle colour variations. The histogram and highlight warning are more reliable for this than the brightness of the display in dark surroundings.
The sun's disc itself, however, does not necessarily need to show internal detail. For many landscape shots, the transition around it matters more than the structure of the sun itself.
Direct Morning Light
Direct sunlight creates clear shadow directions. This changes how terrain and surfaces read.
Side light reveals small irregularities in rock, snow, or grass. A lit peak can stand out clearly from a valley that is still cool. Backlight can make thin mist, frost, or damp vegetation stand out against a darker background.
In mountainous landscapes, these changes happen at different times. Peaks can already be in warm light while lower areas are still in indirect skylight. This creates several light zones with different colour temperatures and contrasts within the same shot.
This can also change the most effective framing. When a single ridge catches the light, it gains weight relative to a foreground that mattered more before. When mist in the valley starts to glow, the spatial layering can become more important than a colourful sky. How position, focal length, and image quality work together in landscape photography as a whole is covered in the main guide.
Camera Settings for Sunrise and the Blue Hour
At sunrise, your settings mainly need to respond to rising brightness, movement, and increasing contrast.
For a static landscape on a tripod, a low or native ISO is a good starting point. If grass, branches, or mist are moving and their structures should stay clear, a higher ISO can be useful if it allows a correspondingly shorter shutter speed.
The aperture depends on how sharpness needs to be distributed in space. A very close foreground needs more depth of field than a composition where the first meaningful plane lies far away. Very small apertures do increase the depth of field, but diffraction can reduce the rendering of the finest details.
With water, clouds, and mist, the shutter speed visibly shapes the look of the image. Short exposures preserve more of the momentary structure; longer ones smooth out movement. On a lake, this can produce a calmer reflection. With mist, on the other hand, it can reduce the separation between individual layers.
After sunrise, the difference in brightness often increases rapidly. As long as a RAW file captures the key highlights and shadows sufficiently, bracketing is not necessary. Bracketing becomes useful when very bright areas and a much darker foreground both contain essential image information.
With moving water, clouds, or vegetation, the individual frames in a bracketing sequence may differ from one another. This movement should be taken into account at the time of shooting.
Photographing Natural Colours at Sunrise
Natural-looking colour at sunrise does not mean neutralising the light. Blue shadows, neutral mist, pink clouds, and warm direct light can all be part of the scene at the same time.
Auto white balance reassesses every shot. Because the morning light changes quickly, the camera's interpretation of colour temperature can change too. A fixed white balance provides a more consistent reference across a sequence; RAW files allow the final fine-tuning later.
There is no universal Kelvin value for sunrises. During the blue hour, the cool light is part of the actual scene and does not need to be fully corrected. Nor should a warmer area of the image necessarily be pulled back to a neutral value after sunrise.
Global saturation also calls for restraint. In morning light, interesting colours often lie close together. A gentle pink next to a slightly warmer orange, or a cool grey beside a bluish mountain, creates colour separation even though none of these tones needs to be particularly intense.
The Hasselblad Natural Colour Solution (HNCS) is designed for exactly this: consistent, natural colour reproduction and fine transitions. Hasselblad calibrates its medium-format cameras at pixel level; HNCS takes tone and contrast into account as well as colour and is designed to reproduce different hues reliably under varying lighting conditions.
In a morning landscape, this matters especially when cool shadow and warm direct light appear at the same time. Their independence contributes more to the colour impression than boosting both areas globally.
Camera and Lens for Sunrise Landscape Photography
X2D II 100C for Large Tonal Differences
For sunrises, what matters most with X2D II 100C is how it handles bright and dark light zones at the same time. The camera works with 16-bit colour depth, native ISO 50, and a dynamic range of up to 15.3 stops; HNCS HDR extends Hasselblad colour reproduction to HDR capture.
This reserve makes it possible to capture bright clouds and a still-dark foreground with differentiation in the same file. In editing, you can then decide how much of the natural difference in brightness should remain visible.
[cta: https://store-eu.hasselblad.com/products/x2d-ii-100c]
XCD 20-35E for an Adjustable Frame
During a short window of light, the camera is often already set up in a fixed position. When the light changes, the right framing can still change.
XCD 3,2-4,5/20-35E covers approximately 16 to 27 mm in full-frame equivalent terms. This lets you change the proportion of sky, foreground, and distance from the same camera position without changing the perspective by moving.
In this situation, the zoom range matters more than switching lenses: The composition can follow a newly lit part of the landscape while the short phase of light continues.
[cta: https://store-eu.hasselblad.com/products/xcd-20-35e]
Frequently Asked Questions about Sunrise Photography
How early should I arrive before sunrise?
Ideally, the camera should be set up at the prepared location by the start of the blue hour at the latest. Since its start varies with location and season, also allow time for the journey, the walk in, setting up, focusing, and initial adjustments to the composition.
Do I need a tripod for sunrise photography?
Not always. During the blue hour, a tripod makes long exposures, low ISO values, and exposure bracketing easier. With a sufficiently short shutter speed, you can also shoot handheld, especially if the camera or lens is effectively stabilised.
How do I focus before sunrise in low light?
With low contrast, autofocus can become less reliable. A bright, high-contrast edge in the relevant plane of focus is good for focusing; the focus can then be held or checked manually before the main light phase begins.
When does a graduated filter make sense at sunrise?
A graduated neutral density (ND) filter can help when the sky is significantly brighter than the foreground and the transition in brightness runs along a suitable line. With irregular mountain silhouettes or moving subjects, exposure bracketing can be more flexible.